Wiener Schnitzel

Posted in cookery on January 5th, 2020 by juan

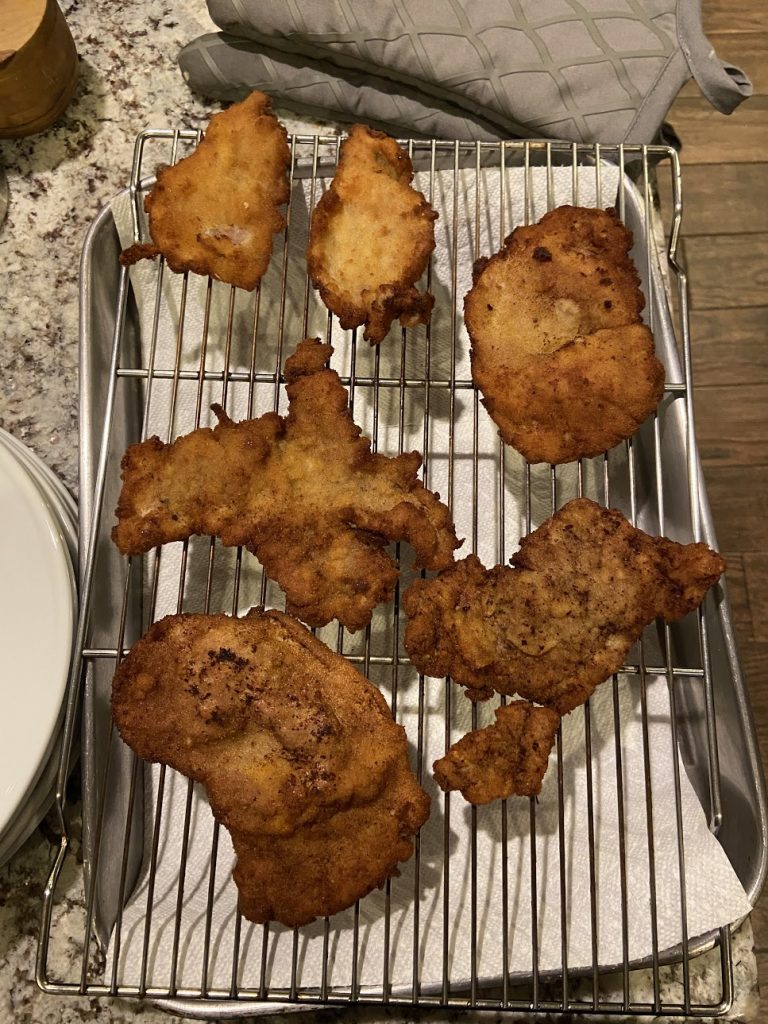
Tonights meal was inspired by watching food shows. On one of them, the host was served a tasty Schnitzel and not having had one for a long time, I immediately told the Mrs. "let’s go get schnitzel!" Unfortunately, the closest place that serves it is about a 40 minute drive away (and yes, in Atlanta, that’s considered in town).

So, naturally, we made it. We found a great recipe from the good folks at the America’s Test Kitchen. In case you don’t have a subscription or a copy of the January/February 2009 magazine, I’ll give you my interpretation of it:

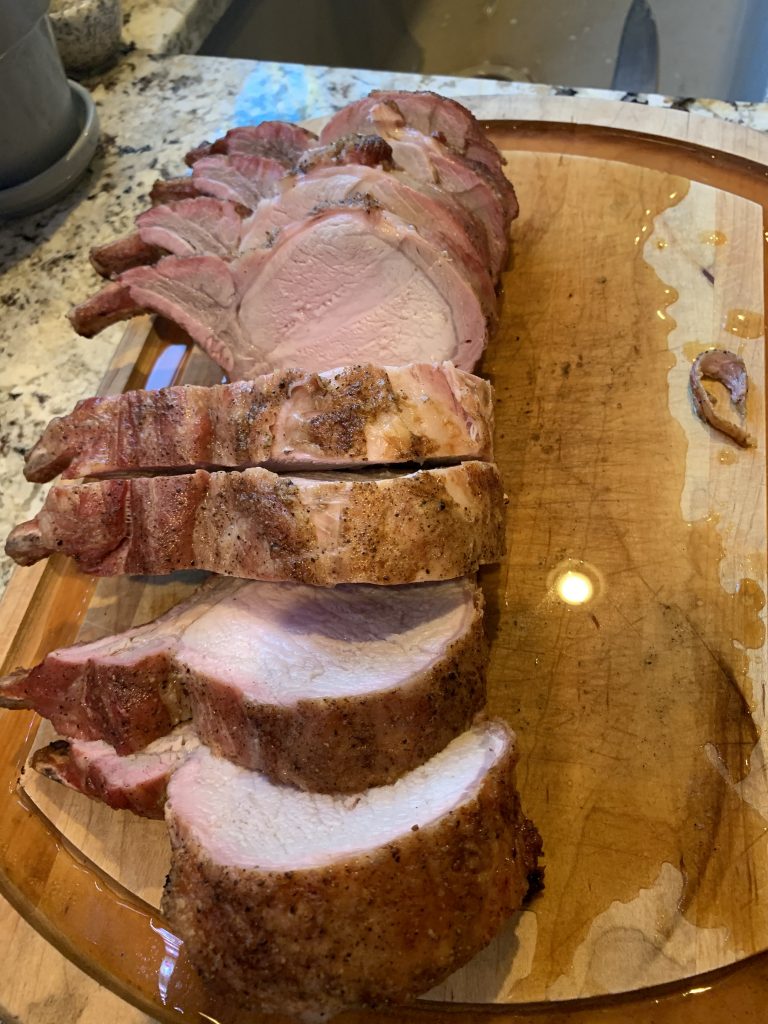
  1. 1 Pork Loin (divided into 4 equal weight parts)
  2. 7 large slices of high quality white bread with the crust removed (diced into 1/2 to 3/4 inch cubes).
  3. 1/2 cup AP flour
  4. 2 Large Eggs
  5. 2+ cups of oil and 1 tablespoon extra

The first part is to make the bread crumbs. I feel that this might be optional, but haven’t tested it. This was also kinda weird for me since I’ve never used a microwave this way. Put the diced bread on a plate and microwave on high for 2 minutes. Take them out and mix thoroughly. Do another 2 minutes on high. Take them out and mix thoroughly again. Then 5 more minutes at medium with a round of mixing each minute. By the end you have very hard crusty bread that hasn’t been toasted. Put this bread in a food processor and process until you have extremely fine bread crumbs.

Next take the cutlets of pork and put them, one at a time, in a gallon ziplock back. Pound each one till they are roughly 1/8 to 1/4" thick. Salt and pepper each after pounding flat.

Then, whisk the 2 eggs and 1 tbsp of oil in a shallow plate (I used a pyrex pie plate). Spread the flower on another plate, and the crumbs on a third. Working one at a time, take each cutlet and dredge in the flour. Shake off the excess. Then put into the egg mixture and also allow extra to drip off. Finally, put into the break crumbs and get a nice even cover. Shake off the excess there again. Put on a cookie sheet and let rest for 5 minutes so that it dries out.

In a large(ish) dutch oven, put the 2 cups of veggie oil and bring to 375f. Working one at a time, fry the cutlets until golden brown. While the cutlet is frying, gently shake the Dutch oven (it makes sure the oil and moisture work well with each other). Put on a plate lined with paper towel and let oil drip off. You’ll want to flip them over a couple of times. While you are doing that, fry another cutlet. Repeat until done.

I served mine with some roasted potatoes and a nice salad. You could also create a garnish with capers and parsley – but I didn’t. However, you do want to cut up some lemons and have them available to squeeze onto the cutlets when you are ready to eat.

Note that in my gallery, I ended up with lots of small pieces. That’s because I tried following their method of slicing the pork and I completely butchered it. Their recipe called for some biased slicing, and what I found is that it’s hard to get four even slices. I also found that the slicing didn’t deal with the fact that the loin is not butchered evenly. Next time, I’m just doing four even weight slices and moving on. It’ll be a bit harder to pound out, but I’ll get much more even slices.

Enjoy.

Rotisserie chicken on the egg

Posted in cookery on January 1st, 2020 by juan

Ok. This is another simple one, but always tasty. I use a Joe Tisserie with my Big Green Egg. It is a bit of heresy, but I had no option. The BGE folks don’t have one and the Joe works fine with it. Go figure. Anyways, for the chicken, make sure to get smaller chickens. I’ve found that 4-5 lbs chickens do better than bigger ones. I prep them by trimming off all the hanging fat bits. They usually are part of the neck (or what’s left) and then the usual flaps of skin by the bottom of the rib cage. It’s not our favorite so I normally also trim off the chicken tail. Then put a generous amount of your favorite rub. Tonight I tried two of them (one per chicken!): Dizzy Pig Peruvianish and Dizzy Pigg Pineapplehead. Once they are nicely seasoned, truss them up. There’s a variety of techniques for this so find one that you like. The goal is to keep the legs and wings from flapping around as the rotisserie spins.

Get the green egg up to about 325-350 and prep the fire by spreading it to the sides of the egg – not directly under the chicken. I’ve tried it with directly under, and it was too easy to scorch that way. Place the chickens in the rotisserie and turn it on. Cook until you get 165 reading in the breast. I use an instant read thermometer. It takes somewhere from 45minutes to an hour. It’s taken a bit more before so plan on an hour with some wiggle room. It’s also common for the chickens to cook at different rates so make sure that you check both if you are cooking more than one.

Once they are done, let rest covered for about 15 minutes. Carve and serve.

Tags: ,

On cast iron

Posted in cookery on December 27th, 2019 by juan

For Christmas I got a cast iron skillet to go on my green egg. I’ve been meaning to get one, so that was a nice present. One of the big reasons is that I wanted to see how much yummy crust (i.e. Maillard Reaction ), I could get for meat. My, very well raised, daughter asked for steak (and fixings) for dinner for her birthday. So, I tested it.

The result? The best steak I’ve ever cooked. Here’s how:

  1. Get some good prime steak
  2. Get the steak to room temp ahead of the cook (2hrs or so)
  3. Salt and pepper to taste
  4. Put the cast iron over a direct heat and set the temp to be about 500 or so on the egg. The cast iron will be much hotter. Check out the thermometer reading in the picture. It read 640F
  5. After the egg is stabilized, put a generous amount of oil on the flat side of the cast iron. I used a little over a tablespoon. I also used avocado oil which has a very high smoke temp
  6. Put the steaks on and don’t touch them for about 2 minutes.
  7. Check the underneath real quick and make sure you have that real good sear
  8. If you have the real nice crusty sear, flip it over. If not wait at most one more minute and then flip over.
  9. Cook for another 2-3 minutes. I didn’t get the same sear level, but it was close. It’s really easy to over cook, so I erred on the side of having one side super presentable and the other almost as good. Turns out that was the right choice.
  10. Let rest for about 10 to 15 minutes
  11. Eat the best steak you’ve ever had (or so my very biased, but also very educated family says).
Tags: ,

On cookery

Posted in cookery on December 26th, 2019 by juan

Since I started this thing back in the day, both the Mrs. and I have significantly improved our #cookery. I figure that this would be a good place to share some of that moving forward.

I’ll start with something rather easy, but always tasty. The picture is of a 9lb (pre cooked weight) rack of pork. We basically don’t like eating pork chops cooked any other way. Costco sells these during holidays and they are a bargain. This whole rack came in under $20 and fed 7 adults and 3 kids with some leftovers.

The cooking? Couldn’t be simpler. I make sure to bring it up to room temperature by taking it out of the fridge at least a couple of hours ahead of time. I prep it with just a salt and pepper. The salt is used a little bit more liberally than the pepper, but use your own taste to judge.

Then on the Green Egg, I set up for indirect cooking at 350 degrees. Once that’s up to temp and stable, put the rack in with a meat thermometer in it. Avoid the bone and go for the thick part of the chop. Cook until it’s internal temp is 141-142. Take it out, put it on a carving board, cover with foil for at least 15 minutes. Slice and serve. It’s awesome.

Oh and for those that think it’s too pink? You are wrong.

Tags: , , ,